
How to Build a Better Home Coffee Station
A better home coffee station is not necessarily a larger one. The best setup places the equipment, beans, mugs, water, and cleanup supplies in the order you actually use them, while keeping the counter calm enough to live with every day.
Start by studying your routine rather than copying a styled coffee bar. A person who makes one pot of drip coffee before work needs a different arrangement from someone who rotates between espresso, pour-over, tea, and iced drinks. Once the workflow is clear, the design decisions become much easier.
Begin With the Way You Make Coffee
Walk through the process from beginning to end. Where do you fill the reservoir? Where do you measure beans? Where does the grinder lid land? Where do you set a wet spoon? Small points of friction are what make a coffee station feel cluttered, even when it looks attractive in a photograph.
Group the setup into four practical zones:
- Brewing: Coffee maker, kettle, grinder, scale, or other equipment used for the drink itself.
- Serving: Mugs, glasses, spoons, sweeteners, and napkins.
- Storage: Beans, filters, tea, syrups, and backup supplies.
- Cleanup: A small tray, towel, brush, compost container, or convenient route to the sink and trash.
You do not need four separate pieces of furniture. These are functional categories, and several may share the same cabinet or drawer. The point is to prevent every coffee-related object from competing for the same patch of counter.
Choose the Right Location
A coffee station usually works best on a counter near a water source, electrical outlet, and waste bin. However, proximity to the sink is only helpful when the area is not already the kitchen’s busiest traffic lane. A station placed directly beside the main prep zone can create morning gridlock.
Measure the appliance footprint, then add working room around it. You may need space above a coffee maker to lift a reservoir lid, clearance beside an espresso machine for a steam wand, or room in front to remove a drip tray. Check how cabinets, shelves, and doors move before committing to the location.
In a small kitchen, consider an underused counter end, a shallow freestanding cabinet, or a portion of a pantry shelf with safe access to power. Renters can create a defined zone with a washable tray rather than installing shelves or permanent cabinetry.
Keep the Daily Setup Deliberately Small
A coffee station becomes easier to maintain when the counter holds only what is used most days. One brewer, one grinder, a small supply of beans or pods, and a few favorite mugs may be enough. Backup filters, seasonal syrups, extra cups, and specialty tools can live in a nearby drawer or cabinet.
This is particularly important when several brewing methods are involved. Displaying a drip machine, espresso machine, French press, pour-over set, kettle, frother, and grinder at once can consume an entire work surface. Keep the most frequently used method ready and store the others as a compact kit.
A useful coffee station supports the morning routine without making the kitchen look permanently mid-task.
Select Equipment That Fits the Space and Routine
Before buying a new appliance, decide what problem it should solve. A larger brewer may help a household that serves several cups at once, while a programmable machine may suit mornings when reducing steps matters more than experimenting with technique. A manual setup offers control but usually requires more tools, attention, and cleanup.
Confirm the available counter depth, overhead clearance, outlet location, water-filling method, and cleaning requirements. Also consider whether the machine’s carafe, reservoir, filter basket, and removable parts can reach the sink without an awkward trip across the room.
Affiliate disclosure: CraneManor.com may earn a commission when you purchase through links on this page. This does not affect the price you pay. Learn more.
For a streamlined drip-focused station, the Fellow Aiden Precision Coffee Maker, Malted Chocolate is one example of a dedicated countertop appliance with a distinctive finish. Before choosing any brewer, confirm the counter space, electrical requirements, included accessories, beverage compatibility, heat clearance, cleaning process, and descaling needs for your household.
Before you decide
- Measure width, depth, height, and lid-opening clearance.
- Confirm that the reservoir can be filled comfortably.
- Check whether removable parts fit easily in the sink.
- Consider how many servings you normally make at once.
- Account for the grinder, kettle, scale, or frother that may sit beside it.
- Review the manufacturer’s cleaning and maintenance instructions.
Use Storage That Matches the Item
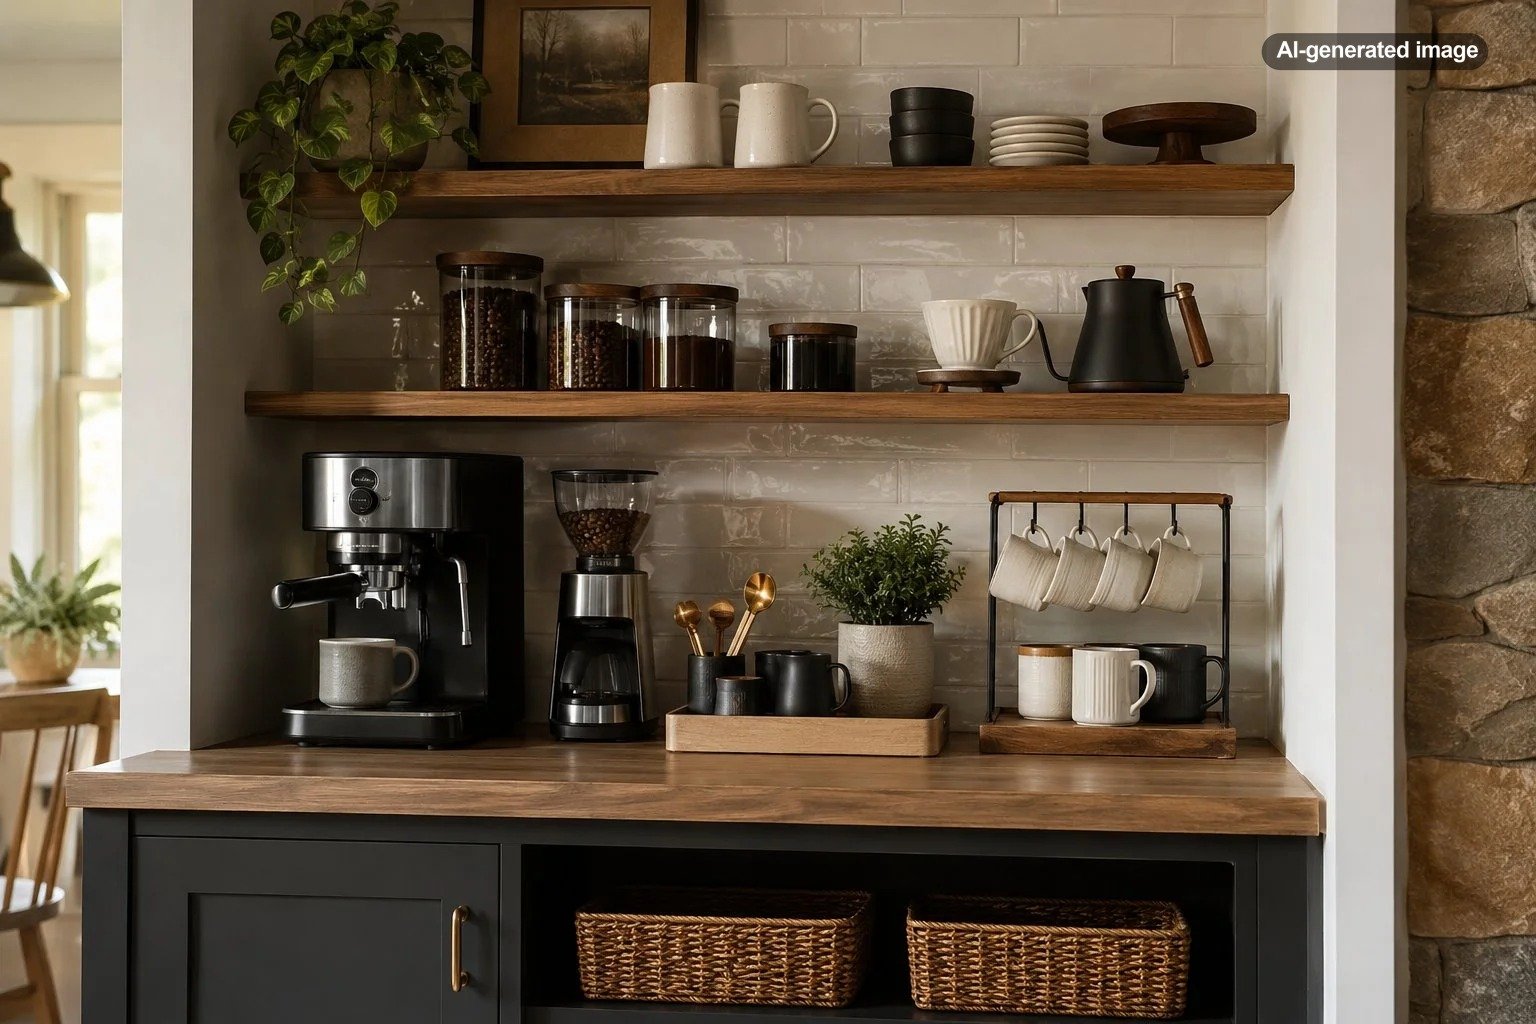
Open shelves are attractive for mugs and a few well-shaped canisters, but they also collect dust and visual clutter. Drawers are often better for filters, scoops, tea bags, cleaning brushes, and other small pieces. Deep cabinets can hold backup supplies, although bins or trays help prevent items from disappearing behind one another.
Store coffee beans in a properly closed container away from excess heat, moisture, and direct sunlight. Avoid placing the main bean supply beside a hot appliance simply because the arrangement looks convenient. Keep only a modest working quantity at the station and store the rest according to the roaster’s or manufacturer’s guidance.
For mugs, prioritize reach and stability. A shallow shelf above the station can work well when cups are easy to lift down without leaning over a hot appliance. Hooks may save shelf space, but they should be securely installed and positioned where swinging mugs will not strike cabinets or equipment.
Build in a Place for the Mess
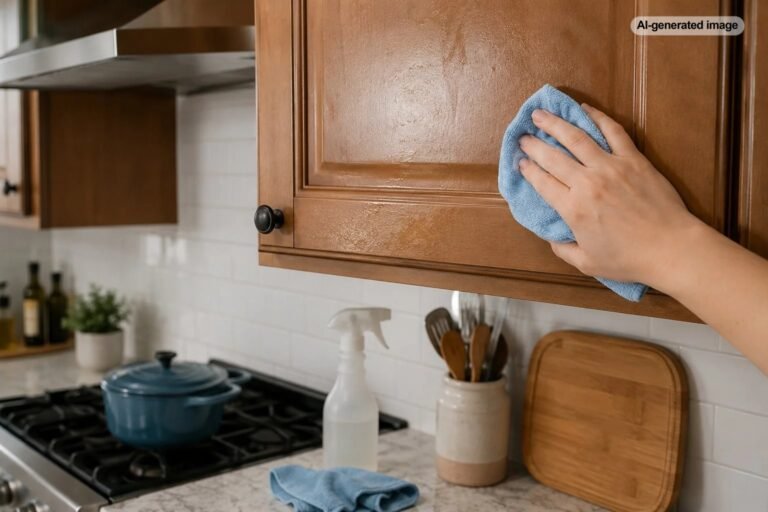
Even a tidy coffee routine produces drips, grounds, wrappers, wet spoons, and the occasional overflow. A washable tray beneath the primary tools can define the station and catch minor spills. Choose one large enough to be useful but not so large that it becomes another surface covered with objects.
Keep a small towel or cloth nearby, along with the brush or tool recommended for the grinder or brewer. A narrow drawer organizer can hold measuring spoons, reusable filters, and cleaning accessories without turning the counter into a repair bench.
What to do
- Remove everything from the current coffee area.
- Clean the counter, backsplash, nearby drawer, and appliance surfaces.
- Return only the items used at least several times a week.
- Place them in the order used during brewing.
- Move backup supplies and occasional tools to secondary storage.
- Test the arrangement for a week before buying organizers.
Make the Station Look Intentional
Function should lead, but a few visual decisions can help the station feel integrated with the kitchen. Repeat one or two existing materials, such as wood, glass, stainless steel, ceramic, or a cabinet color. A tray, small piece of washable artwork, or restrained row of mugs can create definition without adding much maintenance.
Be cautious with signs, stacks of decorative books, artificial greenery, and open containers that occupy the exact space needed for brewing. Decorations should not block ventilation, crowd hot surfaces, or make cleaning more difficult. One useful object with a pleasing shape is often more effective than several purely decorative ones.
Avoid the Most Common Coffee Station Mistakes
The first mistake is designing around appearance instead of motion. A setup can look balanced while forcing you to carry a dripping reservoir across the kitchen or move a jar every time the brewer lid opens.
The second is storing too much at eye level. Keeping every flavor, mug, tea tin, and accessory on display makes the station harder to clean and visually louder. Rotate seasonal items rather than displaying the full collection.
The third is overlooking power-cord management. Do not stretch cords across sinks, walkways, cooktops, or other work zones. Follow appliance instructions for electrical use, ventilation, heat clearance, and placement, and avoid creating a setup that depends on an inconvenient tangle of adapters or extensions.
Frequently Asked Questions
How much counter space does a coffee station need?
It depends on the brewing method. Measure the equipment and add space for filling, pouring, opening lids, removing parts, and setting down a mug. A compact single-brewer setup may need only a modest section of counter, while an espresso arrangement usually needs more working room.
Should a coffee station be next to the sink?
Nearby is convenient, but directly beside the sink is not always ideal. Choose a location that makes filling and cleanup easy without placing electrical equipment in a splash-prone area or blocking the kitchen’s busiest work zone.
What should stay on the counter?
Keep the primary brewer and the tools used almost every day. Store backup beans, extra mugs, specialty accessories, and seasonal flavorings in a cabinet, drawer, or pantry.
How can I create a coffee station in a small kitchen?
Use one compact tray, choose a single primary brewing method, store supplies vertically or in a nearby drawer, and limit the visible mug collection. An underused counter end or pantry section can work better than adding a separate cart.