Why Does My Dryer Take Two Cycles to Dry Clothes?
A dryer that suddenly needs two cycles is usually telling you that heat, airflow, load size, or moisture removal is not working as it should. The most common explanation is restricted airflow caused by a lint-filled screen, crushed connector duct, obstructed exterior vent, or buildup farther inside the exhaust system.
Do not treat the second cycle as a harmless new routine. Longer drying times waste time, increase fabric exposure to heat, and may indicate lint buildup that deserves prompt attention. Start with the simple checks below, then stop troubleshooting if you notice overheating, smoke, burning odors, gas odors, electrical problems, or a vent system you cannot inspect safely.
Begin with the lint screen
Remove the lint screen and clean it before running another load. Even a thin layer of lint reduces the amount of air moving through the dryer. Check the screen housing for visible debris, but do not push tools deeply into the machine or attempt to disassemble it while it is connected to power.
A screen can also look clean while holding residue from fabric softener or dryer-sheet products. If your appliance manual permits washing the screen, clean it according to the manufacturer’s directions and let it dry completely before reinstalling it. Do not operate the dryer without the screen in place.
Check the load size and fabric mix
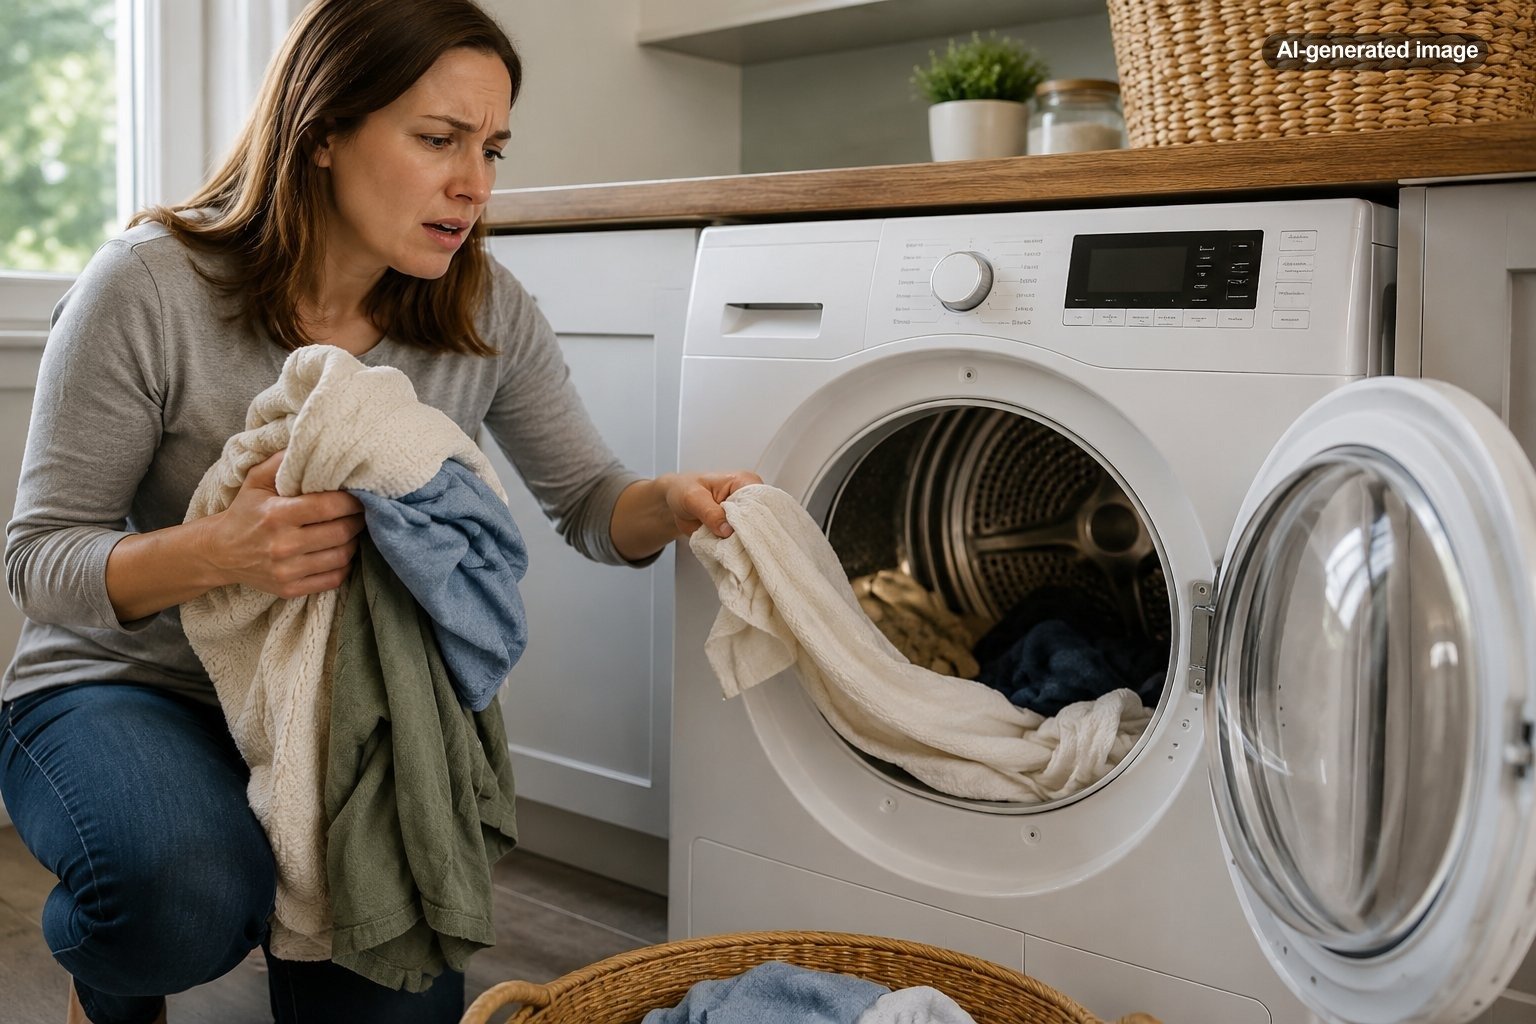
An overloaded drum leaves too little space for clothing to tumble and expose damp surfaces to moving air. A tightly packed load may feel hot around the outside while remaining wet in folds, waistbands, pockets, and seams.
Try drying a smaller, loosely filled load. Separate heavy towels, jeans, blankets, and sweatshirts from lightweight shirts or synthetic garments. Dense items retain considerably more water and can confuse the practical meaning of a single mixed-load cycle: the light pieces may be dry while the thickest pieces still need time.
Consider how wet the clothes are when they leave the washer
The dryer may be working normally but receiving laundry that contains too much water. An unbalanced washer load, a slow spin speed, a clogged washer drain system, or an interrupted spin cycle can leave clothing unusually heavy.
When the washer stops, the clothes should be damp rather than dripping. If they are saturated, redistribute the load and run an appropriate spin cycle if the washer instructions allow it. Recurring drainage or spin problems belong to the washer side of the laundry room and may require separate service.
Inspect the connector duct behind the dryer
Turn the dryer off and follow the manufacturer’s instructions before moving or inspecting it. Look for a flexible connector that has been crushed against the wall, kinked sharply, pulled loose, or compressed by stored items. A dryer pushed too far backward can partially flatten the duct without making the problem obvious from the front.
Dryer exhaust systems should use venting materials and configurations allowed by the appliance instructions and applicable local requirements. The U.S. Department of Energy notes that long runs and excessive bends can increase drying time and lint accumulation. Its guidance favors a short, direct route to the exterior using appropriate metal ducting.
Check the exterior vent while the dryer runs
Locate the outside exhaust hood, provided it can be reached safely from ground level. Run the dryer on an appropriate heated setting and confirm that the flap opens and that air moves outward. Remove only loose surface lint that can be reached without dismantling the assembly.
Weak airflow, a flap that barely opens, lint collecting around the outlet, or warm damp laundry after a full cycle can indicate a restriction. Bird nests, damaged hoods, stuck louvers, lint buildup, long duct runs, and excessive elbows can all interfere with exhaust flow.
What to do
- Clean and reinstall the lint screen.
- Dry a smaller load of similar-weight items.
- Confirm that the washer completed a strong spin.
- Inspect the accessible connector duct for crushing or kinks.
- Check the exterior exhaust for strong airflow and free movement.
- Arrange professional vent inspection or appliance service if performance does not improve.
Pay attention to heat patterns
The way the laundry feels can help narrow the issue without opening the appliance. Clothes that are very warm but still damp often point toward inadequate airflow: the dryer produces heat, but humid air cannot escape efficiently.
Clothes that remain cool or only slightly warm may indicate the selected cycle does not use heat, the energy supply is incomplete, or a heating component has failed. An electric dryer may tumble even when it is not receiving everything required for normal heating. A gas dryer may also tumble without producing proper heat if it has an ignition, fuel-supply, or burner-system problem.
Do not open electrical panels, bypass switches, test energized wiring, adjust gas connections, or repeatedly reset a tripping breaker. Those conditions call for a qualified appliance technician, electrician, or gas professional as appropriate.
Do not overlook cycle selection and moisture sensors
Low-heat, delicate, air-only, eco, and wrinkle-control settings may intentionally dry more slowly or stop with a small amount of moisture remaining. Review the cycle description in the owner’s manual before assuming the machine has failed.
Automatic cycles depend on moisture sensing. If a very small load does not contact the sensor consistently, the dryer may stop before every item is dry. Residue on accessible sensor bars may also affect performance on some models. Clean only as directed in the appliance manual, using the recommended method.
Timed drying can be a useful comparison test, but it should not become a way to ignore chronic airflow problems. ENERGY STAR explains that automatic termination helps a dryer stop when clothing is dry, reducing unnecessary overdrying. When an automatic cycle suddenly becomes unreliable, investigate the load, sensor care, venting, and machine condition.
When professional vent cleaning makes sense
Professional help is sensible when the duct travels through a wall, ceiling, attic, roof, crawl space, or another area that cannot be inspected completely. It is also appropriate when the exterior outlet remains weak after the lint screen and accessible connector have been checked.
A proper evaluation should address the entire exhaust route, not merely vacuum the first few inches behind the machine. Ask the provider to identify crushed sections, disconnected joints, unsuitable materials, excessive bends, damaged exterior terminations, and any route that does not appear to discharge outdoors.
Gas dryers deserve additional caution. The Department of Energy’s dryer safety guidance recommends professional inspection of the gas line and connection to confirm that they remain intact and free of leaks. Never use an open flame to look for a leak.
When the dryer itself may need repair
If the vent has good airflow, the loads are reasonable, the washer is spinning correctly, and the selected cycle is appropriate, an internal fault becomes more likely. Possible areas include the heating system, blower, thermostat, thermal protection, motor, drum drive, controls, or moisture-sensing system. The relevant components vary by dryer type and model.
Keep notes before scheduling service: whether the drum turns, whether heat is present, how long the cycle runs, whether an error code appears, and whether the problem occurs on both automatic and timed cycles. The model number and exact error code can help a technician consult the correct service information.
How to prevent the two-cycle habit from returning
- Clean the lint screen before or after every load.
- Keep the floor and area around the dryer free of lint and stored clutter.
- Avoid packing the drum tightly.
- Separate bulky textiles from lightweight clothing.
- Check pockets for tissues, paper, and other lint-producing debris.
- Inspect accessible ducting periodically for crushing or disconnection.
- Confirm that the outdoor hood opens while the dryer operates.
- Have the full vent path cleaned when airflow declines or lint accumulation warrants it.
- Follow the maintenance instructions in the manual for your exact model.
The goal is not merely to make the dryer finish faster. It is to restore the combination of tumbling, controlled heat, moisture sensing, and unrestricted exhaust that lets the appliance operate as designed. When a simple cleaning and load adjustment do not solve the problem, a full vent inspection is often the most useful next step.
Frequently asked questions
Why are my clothes hot but still damp?
The dryer is producing heat, but moist air may not be leaving efficiently. Check the lint screen, connector duct, exterior hood, load size, and full exhaust path.
Can an overloaded washer affect dryer time?
Yes. An overloaded or unbalanced washer may not spin water out effectively. It can also produce a compacted load that tumbles poorly in the dryer.
Should I keep running another cycle until the clothes dry?
One additional cycle for an unusually bulky load is not necessarily evidence of failure. Repeatedly needing two cycles, however, warrants airflow and appliance checks rather than becoming the default routine.
Does a new dryer need a new vent?
Not automatically, but the existing vent must be clean, correctly configured, compatible with the installation instructions, and able to move air outdoors. A new machine connected to a restricted duct can still have long drying times.
How often should a dryer vent be cleaned?
There is no single schedule that fits every household. Usage, vent length, bends, pet hair, textile types, and duct condition all matter. Official safety guidance recommends cleaning the vent periodically and acting sooner when drying time increases or airflow declines.