
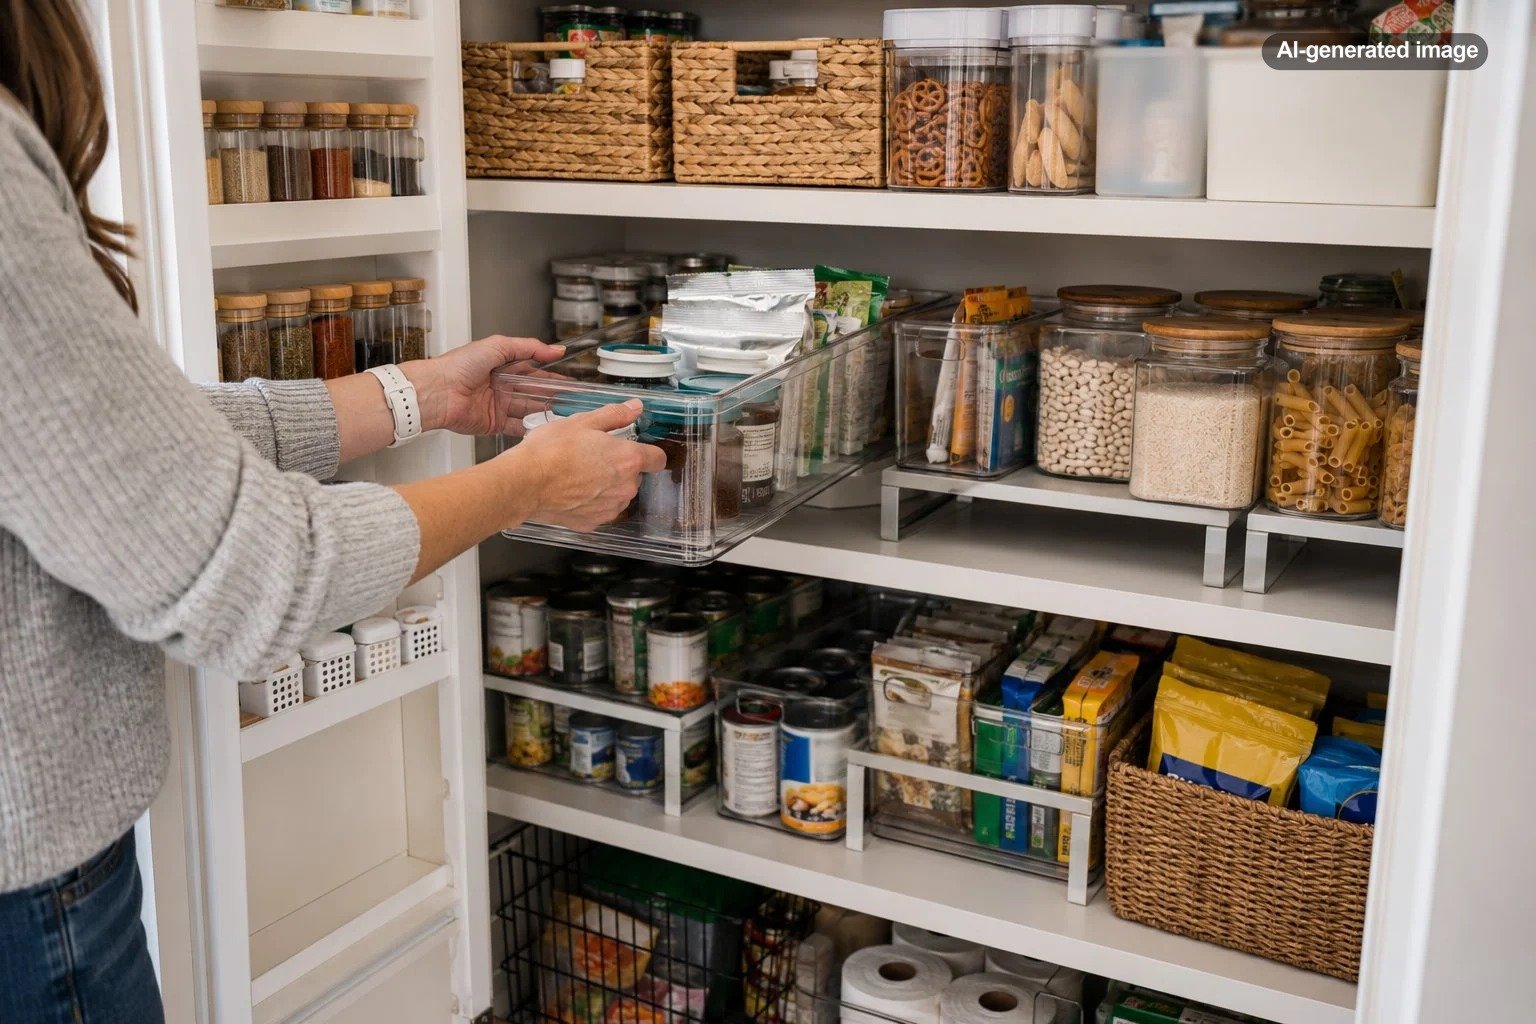
How to Organize a Pantry When Every Shelf Is Already Full
A pantry can look as though it needs more shelves when the real problem is that its existing space is being used inefficiently. Duplicate ingredients hide behind one another, half-empty packages occupy full-size footprints, and rarely used items sit in the easiest-to-reach positions. Organizing a pantry that is already full begins by reducing visual and physical friction, not by immediately buying more containers.
The most effective approach is to empty one section at a time, remove what no longer deserves space, group the remaining food by how it is actually used, and assign each category a clear boundary. The goal is not to create a showroom. It is to make everyday ingredients visible, reachable, and simple to return to their proper places.
Start by finding the space you already have
A full pantry often contains more empty space than it appears to. The space may be trapped inside oversized boxes, above short packages, behind deep rows, or between unrelated items that do not stack well together.
Work shelf by shelf rather than unloading the entire pantry onto the kitchen floor. A complete empty-out can be useful, but it also creates a large project that is easy to abandon halfway through. Remove everything from one shelf, wipe the surface, and sort the contents into four groups:
- Keep in the pantry
- Move elsewhere
- Use soon
- Discard, recycle, or donate when appropriate
Check dates, but also evaluate usefulness. An ingredient can be within date and still be taking up space indefinitely because nobody in the household likes it. Place unopened, suitable food that your household will not use into a donation box rather than repeatedly organizing around it.
Next, reduce unnecessary packaging. Individually wrapped snacks can often leave a bulky cardboard box once the box is partly empty. Tea bags, drink packets, and small baking supplies may occupy far less room when their outer packaging is removed and the original preparation or expiration information is retained nearby.
Create zones based on household routines
Categories such as grains, canned goods, and condiments are logical, but the best pantry zones also reflect how your household cooks. A breakfast zone might contain oatmeal, cereal, nut butter, and pancake ingredients. A weeknight dinner zone might hold pasta, sauces, rice, and frequently used canned foods. A baking zone can keep flour, sugar, leavening agents, and decorating supplies together.
A useful zone should answer a practical question: what do you want to reach for at the same time? Grouping items this way reduces searching and makes it easier to notice when a staple is running low.
Give prime shelf space to foods used several times a week. Eye-level and waist-level shelves should not be occupied by holiday serving supplies, bulk refills, or specialty ingredients used twice a year. Put lightweight overflow and infrequently used items higher up. Reserve lower shelves for heavier packages, larger containers, and supplies that children may be allowed to access.
Use depth without creating hidden rows
Deep shelves tempt people to place one row behind another. That increases capacity on paper, but it often turns the back row into storage for forgotten food. Use depth deliberately by placing related backstock behind the item currently in use. A sealed jar of pasta sauce can sit behind the open inventory of pasta sauce, for example, because both belong to the same category.
Avoid placing unrelated products directly behind one another. If a cereal box hides canned tomatoes, the tomatoes effectively disappear. Shelf risers can improve visibility for cans and jars, while shallow bins can keep small packets from drifting into corners. Choose bins that can be pulled forward easily and that do not consume excessive width with thick sides or decorative handles.
Spices deserve special attention because many small bottles can occupy an entire shelf while remaining difficult to see. A tiered shelf works in a wide cabinet, while a drawer insert may suit a kitchen with available drawer space. In a narrow cabinet, a pull-down system can make several rows accessible without requiring bottles to be stacked in front of one another.
Affiliate disclosure: CraneManor.com may earn a commission when you purchase through links on this page. This does not affect the price you pay. Learn more.
One option for a contained spice collection is a YouCopia SpiceStack, which uses pull-down drawers, adjustable dividers, and labels to organize standard spice bottles. Measure the cabinet first, and consider whether opening the drawers will remain convenient once the organizer is surrounded by other pantry items.
Match containers to the food, not the photograph
Clear containers can make dry goods easier to identify and can improve vertical stacking, but a pantry does not need matching canisters from wall to wall. Begin with the foods that create genuine storage problems: floppy bags, frequently spilled ingredients, packages that cannot be resealed, and staples purchased repeatedly.
Before transferring anything, confirm that the container can hold the full contents of the package. A canister that holds only most of a bag of flour creates two storage problems instead of solving one. Wide openings are helpful for scooping, while narrow containers may use shelf width more efficiently. Square and rectangular shapes generally align more neatly than round containers, but only when their dimensions suit the shelf.
For frequently used dry goods, a clear pantry-container set can make contents visible and provide stackable shapes. The Rubbermaid Brilliance pantry line is described by the manufacturer as airtight, clear, and designed for stacking. Even so, measure shelf height and depth before choosing a set, since a coordinated group is useful only when its individual sizes fit the foods you routinely store.
Before you buy pantry organizers
- Measure usable shelf width, height, and depth.
- Check door swing, hinges, and fixed shelf supports.
- Identify the exact category each organizer will hold.
- Confirm that bins can be removed without shifting neighboring items.
- Choose containers that hold complete packages when possible.
- Leave a little open capacity for normal grocery fluctuations.
Give small items firm boundaries
Small items create disproportionate clutter because they slip behind larger packages and migrate between categories. Gather seasoning packets, snack bars, baking decorations, powdered drink mixes, and similar products into separate shallow bins or small baskets.
Do not make categories so narrow that the system becomes fussy. One bin labeled “snacks” may be too broad for a large household, but six different snack bins may require more room than the food itself. Use the fewest categories that make items easy to find and return.
Labels are most useful when several people share the pantry. Label the shelf edge or bin rather than every individual package. Use ordinary household language: breakfast, school snacks, baking, dinner starters, backstock. A label should explain where something belongs, not merely decorate the container.
Separate active inventory from backstock
Bulk buying can reduce shopping frequency, but it can overwhelm a pantry when open packages and refills are mixed together. Keep one active item in the main zone and place unopened duplicates in a designated backstock area. This may be a high shelf, a lower bin, or a separate nearby cabinet.
Backstock needs a limit. The boundary might be one bin for snacks, one shelf for canned goods, or one row for beverages. When the assigned area is full, use what you have before buying more. A physical boundary is more effective than relying on memory while shopping.
A pantry stays organized when every category has both a home and a limit.
Arrange food so older items are used first
Place newer purchases behind older equivalents when the packages allow it. This simple rotation reduces forgotten food and prevents several partly used versions of the same ingredient from accumulating.
Create a small “use soon” area for open packages, short-dated products, and ingredients left from a particular recipe. Keep it visible rather than hiding it in a bottom basket. Review the area before planning meals or making a grocery list.
Visibility is more valuable than perfect symmetry. Face labels forward when practical, avoid unstable towers, and leave enough room to remove one item without causing an avalanche. On upper shelves, use lightweight bins with accessible handles rather than storing loose packages that must be reached individually.
Maintain the pantry with a five-minute reset
A complicated system will collapse as soon as groceries arrive on a busy evening. Make the return path obvious enough that another household member can put food away without an explanation.
What to do each week
- Return wandering items to their zones.
- Move older duplicates toward the front.
- Combine safe, identical open packages when appropriate.
- Remove empty boxes and packaging.
- Check the use-soon area before writing the grocery list.
Once a month, scan for categories that repeatedly overflow. The answer may be a better bin, but it may also be a purchasing habit. If the pasta zone is always crowded, decide whether the household needs a larger boundary or simply fewer varieties at one time.
Frequently asked questions
Should everything in a pantry be placed in containers?
No. Containers are most helpful for foods that benefit from sealing, stacking, scooping, or improved visibility. Original packaging may be more efficient for products used quickly or sold in rigid, well-sized boxes.
How much empty space should a pantry have?
There is no universal percentage, but each category should have enough room for items to be removed and returned without rearranging an entire shelf. A small amount of open space also accommodates normal grocery changes.
What should go on the highest pantry shelf?
Use high shelves for lightweight, infrequently used items and clearly contained backstock. Avoid placing very heavy containers where lifting them down could be awkward.
How do you organize a pantry without buying anything?
Remove unwanted food, reduce bulky packaging, group similar items, rotate older products forward, and repurpose sturdy boxes or existing baskets as temporary dividers. These steps often reveal whether purchased organizers are actually necessary.