
Is Professional Installation Necessary for a Smart Thermostat?
Professional installation is not necessary for every smart thermostat. Many homeowners with a conventional low-voltage heating and cooling system, clearly labeled thermostat wires, and a compatible replacement model can complete a straightforward installation by following the manufacturer’s instructions. The important qualifier is compatibility: a thermostat swap that looks simple from the wall can involve power requirements, heat pumps, multiple stages, zoning controls, humidifiers, or other equipment that makes professional help the better choice.
The decision should therefore begin with your HVAC system, not your confidence with a screwdriver. If the existing wiring matches the new thermostat’s documented requirements and the manufacturer provides a clear installation path for your configuration, DIY may be reasonable. If the wiring is unusual, the system is complex, or anything does not match the installation guide, an HVAC professional or qualified electrician can prevent a thermostat project from becoming an HVAC troubleshooting project.
Start With Compatibility, Not the Thermostat’s Feature List
Smart thermostats are marketed around scheduling, remote control, automation, and convenience, but none of those features matter until the thermostat can correctly control the equipment already in your home. ENERGY STAR recommends checking HVAC-system compatibility before purchasing and notes that variable-speed, multi-stage, and zoned systems may be situations where professional installation is appropriate.
Before removing the old thermostat, identify the exact model you are considering and use its manufacturer’s compatibility checker or installation documentation. Do not assume that a thermostat described as broadly compatible will work with every furnace, boiler, heat pump, air handler, zone panel, or accessory.
Before you decide
- Identify whether your current thermostat uses low-voltage or line-voltage wiring.
- Record the terminal labels connected to your existing thermostat.
- Check the new thermostat manufacturer’s compatibility tool using those terminal labels.
- Determine whether your system has a heat pump, multiple heating or cooling stages, zones, or HVAC accessories.
- Confirm whether the new thermostat requires a C wire or another approved power solution for your configuration.
When DIY Installation Is Usually the Most Reasonable
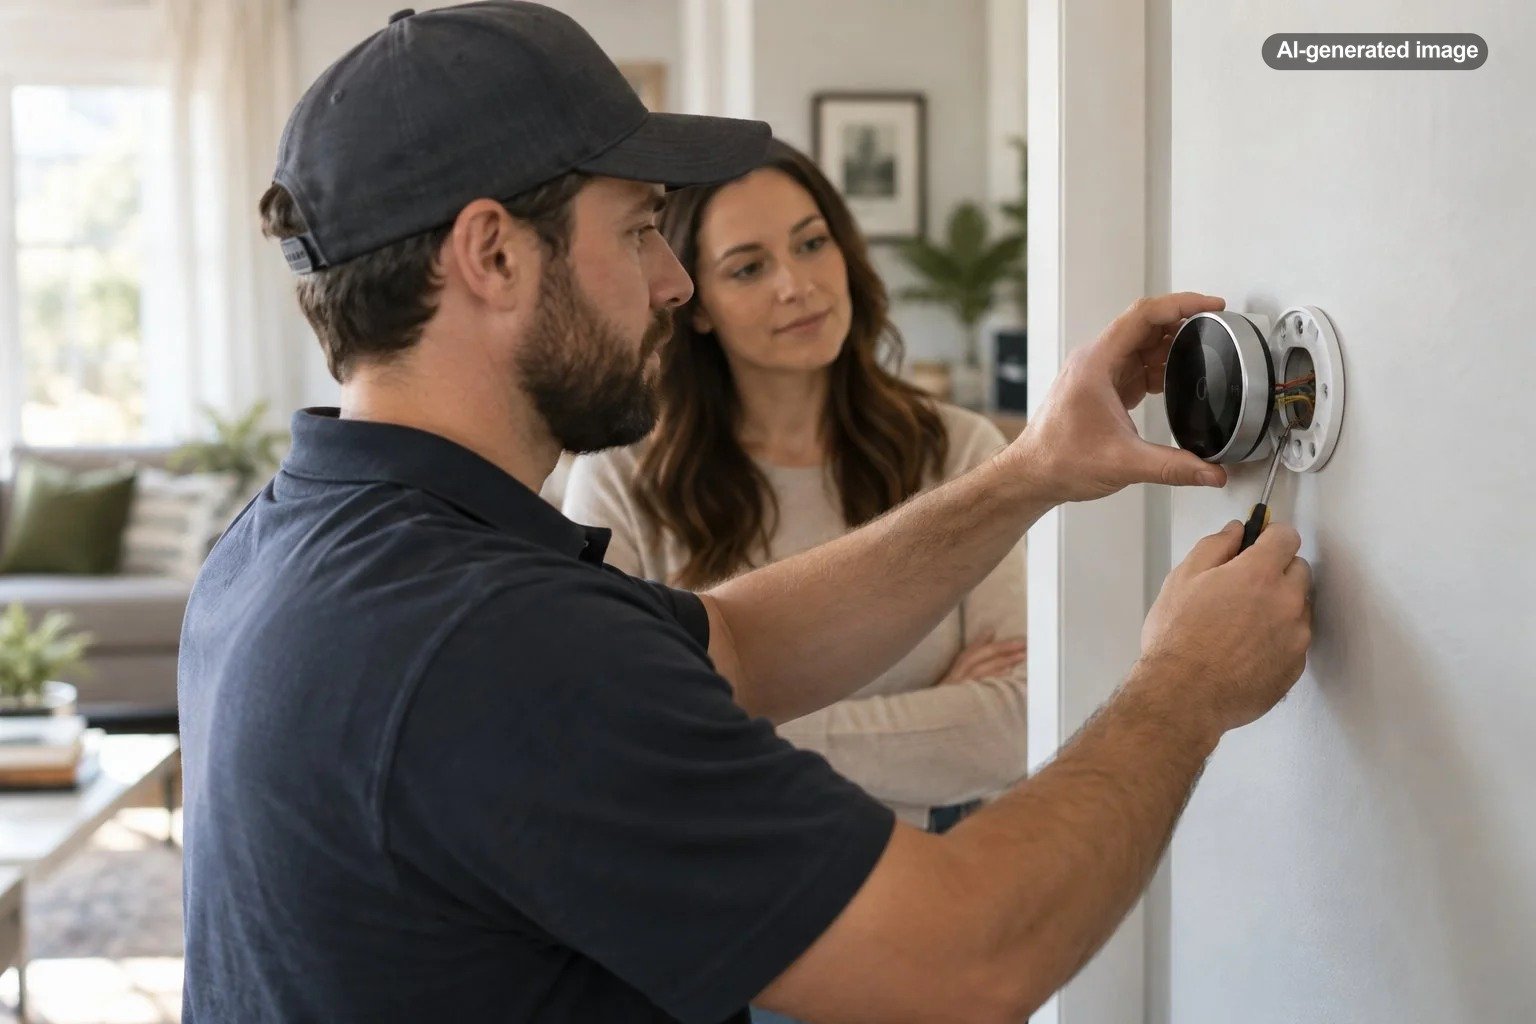
A homeowner may be comfortable installing a smart thermostat when the existing system is conventional, the wiring is clearly labeled, and the manufacturer’s instructions specifically support that configuration. A typical installation involves turning off HVAC power, documenting the existing wiring, labeling each conductor according to its terminal, removing the old thermostat, mounting the new base, reconnecting the wires to the specified terminals, restoring power, and completing guided setup.
Taking a clear photograph of the original wiring before disconnecting anything is especially useful. Wire colors are not dependable enough to identify functions by themselves; terminal labels are the more meaningful reference. Google’s Nest compatibility guidance, for example, tells users to identify wires by the connectors they occupy rather than assuming a red wire is necessarily R or a white wire is necessarily W.
DIY is also easier when you are replacing a basic thermostat without adding new wiring, changing equipment controls, or trying to solve an existing heating or cooling problem. A smart thermostat is a controller, not a repair for an HVAC system that was already behaving incorrectly.
The easiest thermostat installation is the one where compatibility has already been established before the old thermostat comes off the wall.
When Professional Installation Is the Better Choice
Professional help becomes more valuable as the HVAC configuration becomes less conventional. ENERGY STAR specifically points to variable-speed, multi-stage, and zoned systems as configurations where professional installation may be appropriate. Google likewise recommends qualified HVAC help for complex systems that may involve equipment such as humidifiers, dehumidifiers, dual-fuel heat pumps, or a new C-wire installation.
A professional can do more than connect wires. The installer can identify the equipment configuration, verify how the thermostat should be powered, determine whether accessory terminals or control modules are involved, configure heating and cooling stages, and confirm that the thermostat is actually calling the correct equipment after installation.
| Situation | DIY may be reasonable | Professional help makes sense |
|---|---|---|
| Conventional low-voltage system | Yes, when manufacturer compatibility is confirmed | If wiring or equipment identification is unclear |
| Heat pump | Sometimes, with a clearly supported configuration | For complex auxiliary, emergency, or multi-stage setups |
| Zoned HVAC | Sometimes | Often useful when zone panels or special power requirements are involved |
| C wire absent | Only if the manufacturer provides a supported alternative you can install correctly | When a new thermostat wire or equipment-side connection is required |
| High-voltage thermostat | No for a low-voltage smart thermostat that is incompatible with the system | Use a qualified professional to evaluate appropriate options |
| Unidentified or unusual wiring | No reason to guess | Have the system identified before proceeding |
The C Wire Is a Common Decision Point
The common wire, usually called the C wire, provides continuous power to a thermostat. Whether one is required depends on both the thermostat and the HVAC configuration. Some smart thermostats can operate without a dedicated C wire in many systems, while other configurations require one or a manufacturer-approved power accessory.
For Nest thermostats, Google says some heating-only, cooling-only, zone-controlled, and heat-pump configurations can require a C wire or compatible power accessory. Google also notes that installing a new C wire generally calls for professional help. That is a good example of why simply counting the wires at the thermostat is not always enough to determine whether a project is simple.
High-Voltage Wiring Changes the Answer
Do not treat every wall thermostat as a low-voltage HVAC control. Some electric baseboard and radiant-heating systems use line-voltage thermostats. Google identifies markings such as 120 V or 240 V, thick conductors, and wire-nut connections as signs of high-voltage thermostat wiring and states that Nest thermostats should not be connected to those wires.
If you discover a line-voltage system, stop and evaluate products designed specifically for that type of heating system or consult a qualified professional. This is not a situation for experimenting with terminal combinations or assuming that an adapter can be improvised.
Professional Installation Can Be Useful Even When It Is Not Strictly Required
There is a difference between an installation that can be done yourself and one you actually want to do yourself. A professional installation may be worthwhile when access is awkward, the thermostat location needs to change, the wall requires repair, additional wiring must be routed, or you simply want someone to verify the complete HVAC configuration.
It may also be sensible when the heating or cooling system already has symptoms such as intermittent operation, short cycling, equipment that does not respond consistently to thermostat calls, or an old thermostat that loses power. Installing a new controller before understanding an existing fault can make diagnosis harder because it introduces another variable.
Conversely, paying for installation may add little value when the system is straightforward, compatibility is clearly documented, the existing wiring is accessible and correctly labeled, and the manufacturer’s guided installation process covers your exact setup.
Choosing a Smart Thermostat Before You Install
Affiliate disclosure: CraneManor.com may earn a commission when you purchase through links on this page. This does not affect the price you pay. Learn more.
Compatibility should remain the first filter when choosing a model. Features such as app control and programmable schedules are useful only if the thermostat supports your HVAC equipment and can receive reliable power. For homeowners whose systems are confirmed compatible, a compatible smart thermostat such as the Google Nest Thermostat can provide Wi-Fi-enabled control, but compatibility should be verified for the individual HVAC system before purchase or installation.
The product decision and installation decision are related but separate. A thermostat may be compatible with your equipment yet still be inconvenient for you to install, while another homeowner with the same thermostat may have a simpler wiring arrangement. Read the installation requirements before buying rather than discovering them after the old thermostat is already disconnected.
A Better DIY Process
What to do
- Confirm that the existing HVAC system is operating normally before changing the thermostat.
- Use the exact thermostat manufacturer’s compatibility checker or documentation.
- Turn off HVAC power as directed by the manufacturer before removing the existing thermostat.
- Photograph the existing connections so every terminal label is visible.
- Label conductors according to terminal position rather than relying on wire color.
- Follow only the wiring diagram generated or documented for your system.
- Restore power and complete the manufacturer’s setup and equipment tests.
- If the thermostat reports a power, wiring, or equipment problem that the documented troubleshooting process does not resolve, stop and call a qualified professional.
Frequently Asked Questions
Can an electrician install a smart thermostat?
An experienced electrician may be appropriate for certain thermostat installations, particularly when electrical wiring work is involved. For configurations involving HVAC controls, heat pumps, zoning, accessory equipment, or system diagnosis, an HVAC professional familiar with control wiring may be the more useful choice.
Do all smart thermostats need a C wire?
No. Requirements vary by thermostat and HVAC configuration. Some thermostats work without a dedicated C wire in supported systems, while other setups require a C wire or an approved power accessory. Check the manufacturer’s compatibility guidance for the exact model and system.
Can I install a smart thermostat if I have a heat pump?
Possibly. Many smart thermostats support compatible heat-pump systems, but auxiliary heat, emergency heat, multiple stages, and other configuration details matter. Confirm your exact wiring and equipment through the manufacturer’s compatibility process rather than relying only on the phrase ‘heat pump compatible.’
What if my thermostat has 120 V or 240 V markings?
That can indicate a high-voltage thermostat system. Do not connect a low-voltage smart thermostat unless its manufacturer specifically documents compatibility with that system. Google, for example, states that its Nest thermostats are not compatible with direct high-voltage thermostat wiring.
Is professional installation worth it for a simple thermostat replacement?
It depends on the system and your comfort level. If compatibility is clearly confirmed and the replacement follows a straightforward manufacturer-documented wiring pattern, professional installation may be optional. If anything about the wiring, power supply, equipment configuration, or existing HVAC operation is uncertain, professional evaluation can be worthwhile.